

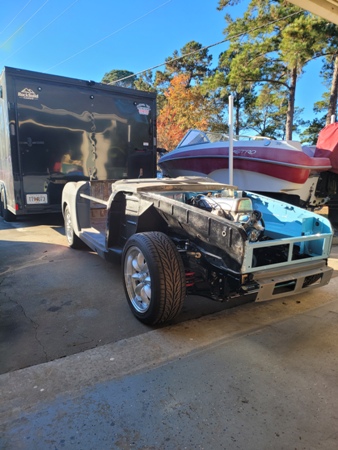
Starting Point
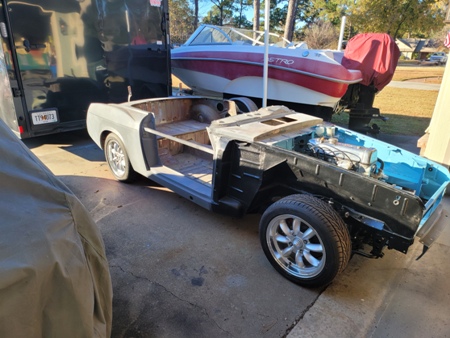
So I changed coarse and decided I needed to have the body on the frame to finish the body work. I had completely built the frame and motor and was runnng it on the completed chassis. Since I won't be taking it off again, I needed to paint the engine compartment prior to installing over the engine.
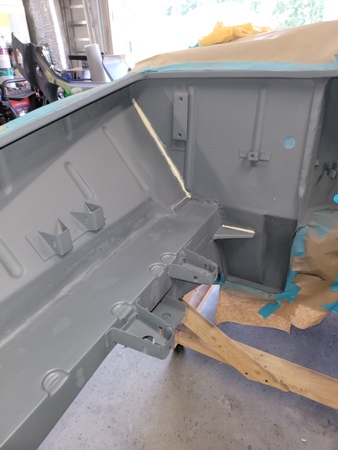
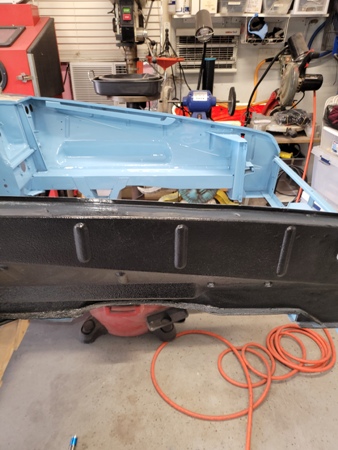
Epoxy Primed (6 Nov 2021)
The car has been in epoxy for protection so to start some quick body work and prep for paint I roughed up the old epoxy and sprayed a fresh coat for follow on layers to bond.

Quick Corrections (6 Nov 2021)
There were a few areas that need some quick body work prior to paint.
Seam Sealer (6 Nov 2021)
After another coat of primer to cover my repairs I seam sealed all of the original areas I had stripped.
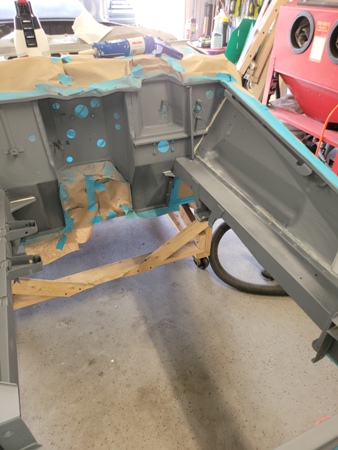

Seam Sealed and Prep (6 Nov 2021)
I taped up the car and sprayed a 2K over all of the engine compartment work..
Final Sand and Clean (13 Nov 2021)
I cleaned the entire area with a 3 stage process of foam cleaner, Pre Prep, and finally alcohol wipe down. Time to mask it up and spray some color.
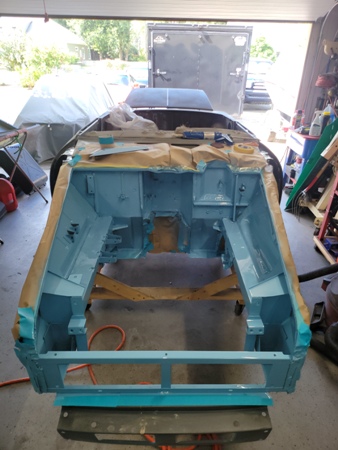
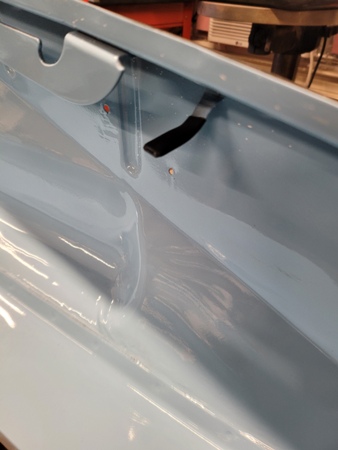
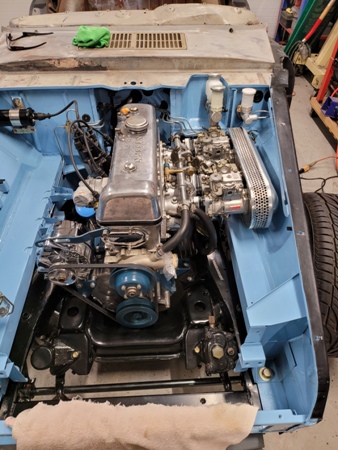
Sora Blue! (14 Nov 2021)
So I went with Sora Blue...it looked great with my red interior and my wife liked the color the most. I also believe it's the safest color for me to spray at home should there be any body repair issues that would show with a darker color.
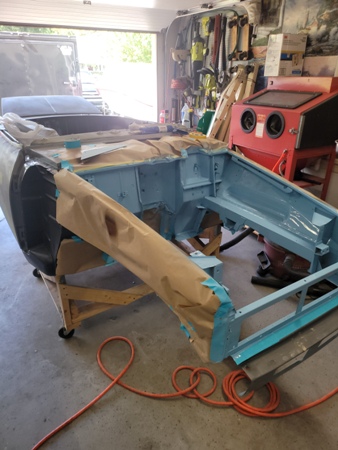
Great Shine (14 Nov 2021)
I went with a base coat/clear coat from PPG and am very happy with the way it sprayed..

Color in Lighting (14 Nov 2021)
Some of the photos make the color look dark, but this is with the garage door open and it looks a lot lighter and more of the expected Sora Blue look.
Buffed Paint (20 Nov 2021)
I used the Liquid Ice polishing system to clean up the engine bay.
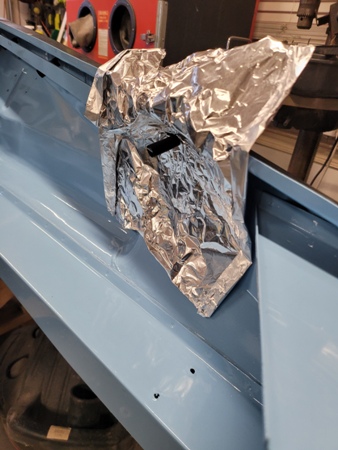
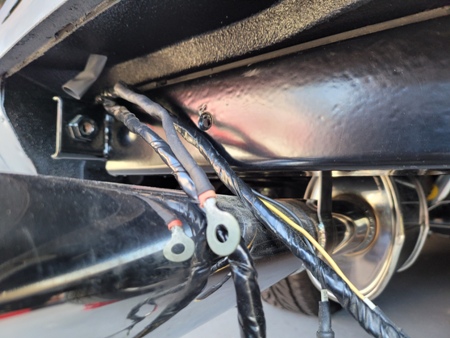
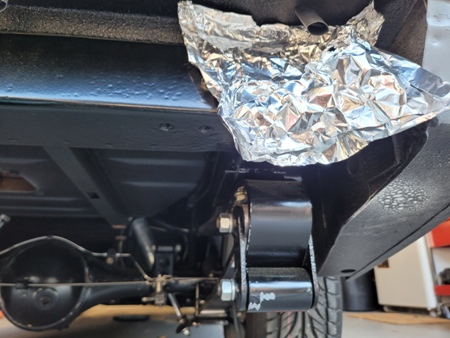
Wire Loom Tabs (20 Nov 2021)
Just like on the frame, I covered all of the line/wire tabs with heat shrink tubes and used my heat gun to quickly melt them while trying to protect the now new paint.
.
Protection Provided (20 Nov 2021)
A really quick solution that helps cover the tabs.
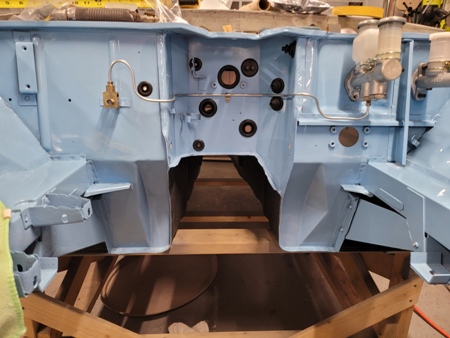

Firewall (21 Nov 2021)
Since I'm on break for Thanksgiving I thought it would be a great time to complete the firewall. Since I'm dropping the body on a completed chassis I wanted the tough to reach area complete BEFORE I blocked it with the engine. 1st line run was the master to front line splitter.
Sora Blue (21 Nov 2021)
Second line was the front splitter back to the front drivers side. I'm using the same plan... measure, bend, then flare like I did on the frame. Also note I installed Dean's firewall grommet kit as this pocket will be near impossible to get to with the engine in.
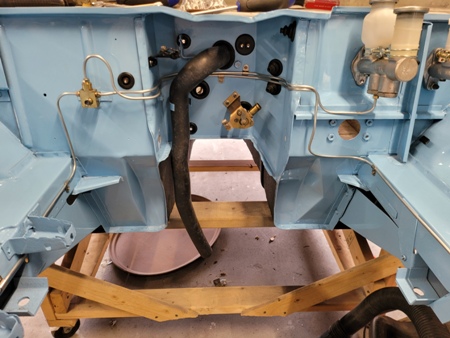

Pass Front Line (22 Novt 2021)
Bent up pass front line and installed heater valve and cowl drain. I installed the lines with SS holders so the lines are a a little more staright and secure.
.
Clutch Line and Rear Brake (22 Nov 2021)
Finished up making rear brake and clutch lines. I had to have these end close to where they will connect to the frame. I finished up the accelerator linkage and heater valve at the same time.
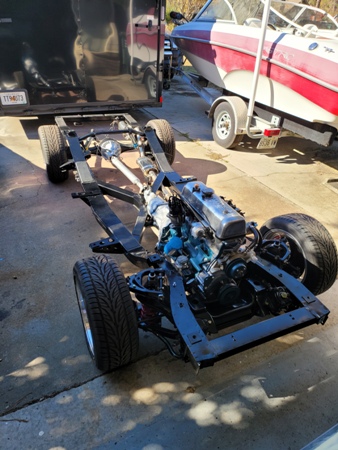
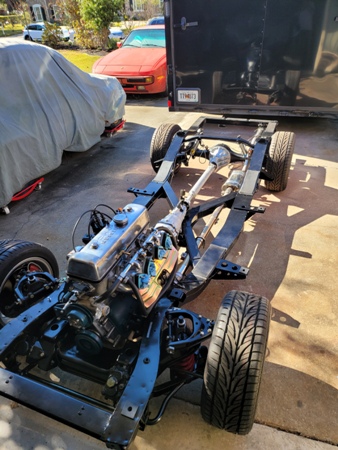
Final Frame Prep (26 Nov 2021)
So at Thanksgiving dinner I told my kids we were having a lift party the next day. I woke up early and did a final wipe down of the frame and installed the frame mounts.
.
More Prep (26 Nov 2021)
The other big step was removing the carbs and the alternator so it would be easy to lower the body. I also removed the doors and trunk and put my door braces back on figuring that would make the overall lift lighter for my family..
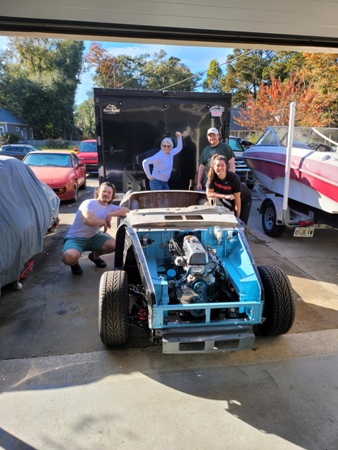
Two are One! (26 Nov 2021)
Well it went WAY easier than I thought. We rolled the dolly close the frame, I cut the rear dolly section with a saw and we all took a corner and lifted and then lowered into place. Thanks to my wife, son, daughter and her boyfriend. That young man on the pass side is the same young boy who worked on the front end rebuild in 2008. This has been years in the making.
.
Side View (26 Nov 2021)
I love the stance.

Thoughts (26 Nov 2021)
I sat outside for about an hour and just stared at what I now know will become a car again. This has been 16 years of working a few hours now and then. I was in the Military for 26 years and my cars sat many times for years at a time while I deployed. I am very happy of how it looks right now and I can see it in my head complete. My wife even bought me a portable paint booth for the driveway as I complained so much painting the engine bay in our garage...she has really supported me on this quest.
.
Lines to Frame (27 Nov 2021)
I must have got pretty lucky or it was the 15 times measuring, but the body brake/clutch lines aligned perfect with the frame receivers.

Same at Front (27 Nov 2021)
Same deal on the two front brake lines. The body lines fell perfect for connecting to the frame receivers at the flex lines.
.
Putting Engine Back Together (27 Nov 2021)
I had removed the carbs and alternator for ease of installing the body, but I want the engine to be complete so I can continue to run it during the completion of the resto. It was no fun putting the Solex aircleaner on with a freshly painted bay.
Rear Wire Harness (27 Nov 2021)
I built my own rear harness some time ago and it has been on the frame. With the body now installed I can secure the wires on the body as designed.
.
Heat Shrink (27 Nov 2021)
Just like all other tabs I covered the rear with shrink tubing and secured by melting to the tabs
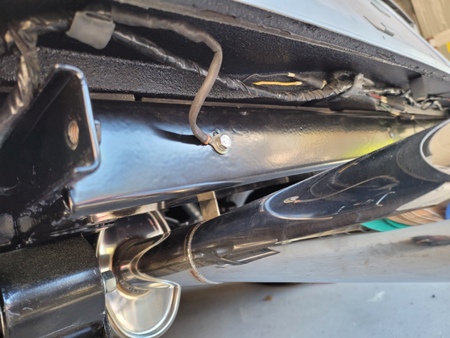
Rear Harness Completee (27 Nov 2021)
I cleaned up the ground and installed it while securing the loom to the body tabs.
.